Just Saying Hello card

Hello everyone! Just popping in to share a card to say hello – sometimes we just want to send someone a card just to say hello!

Just saying hello card

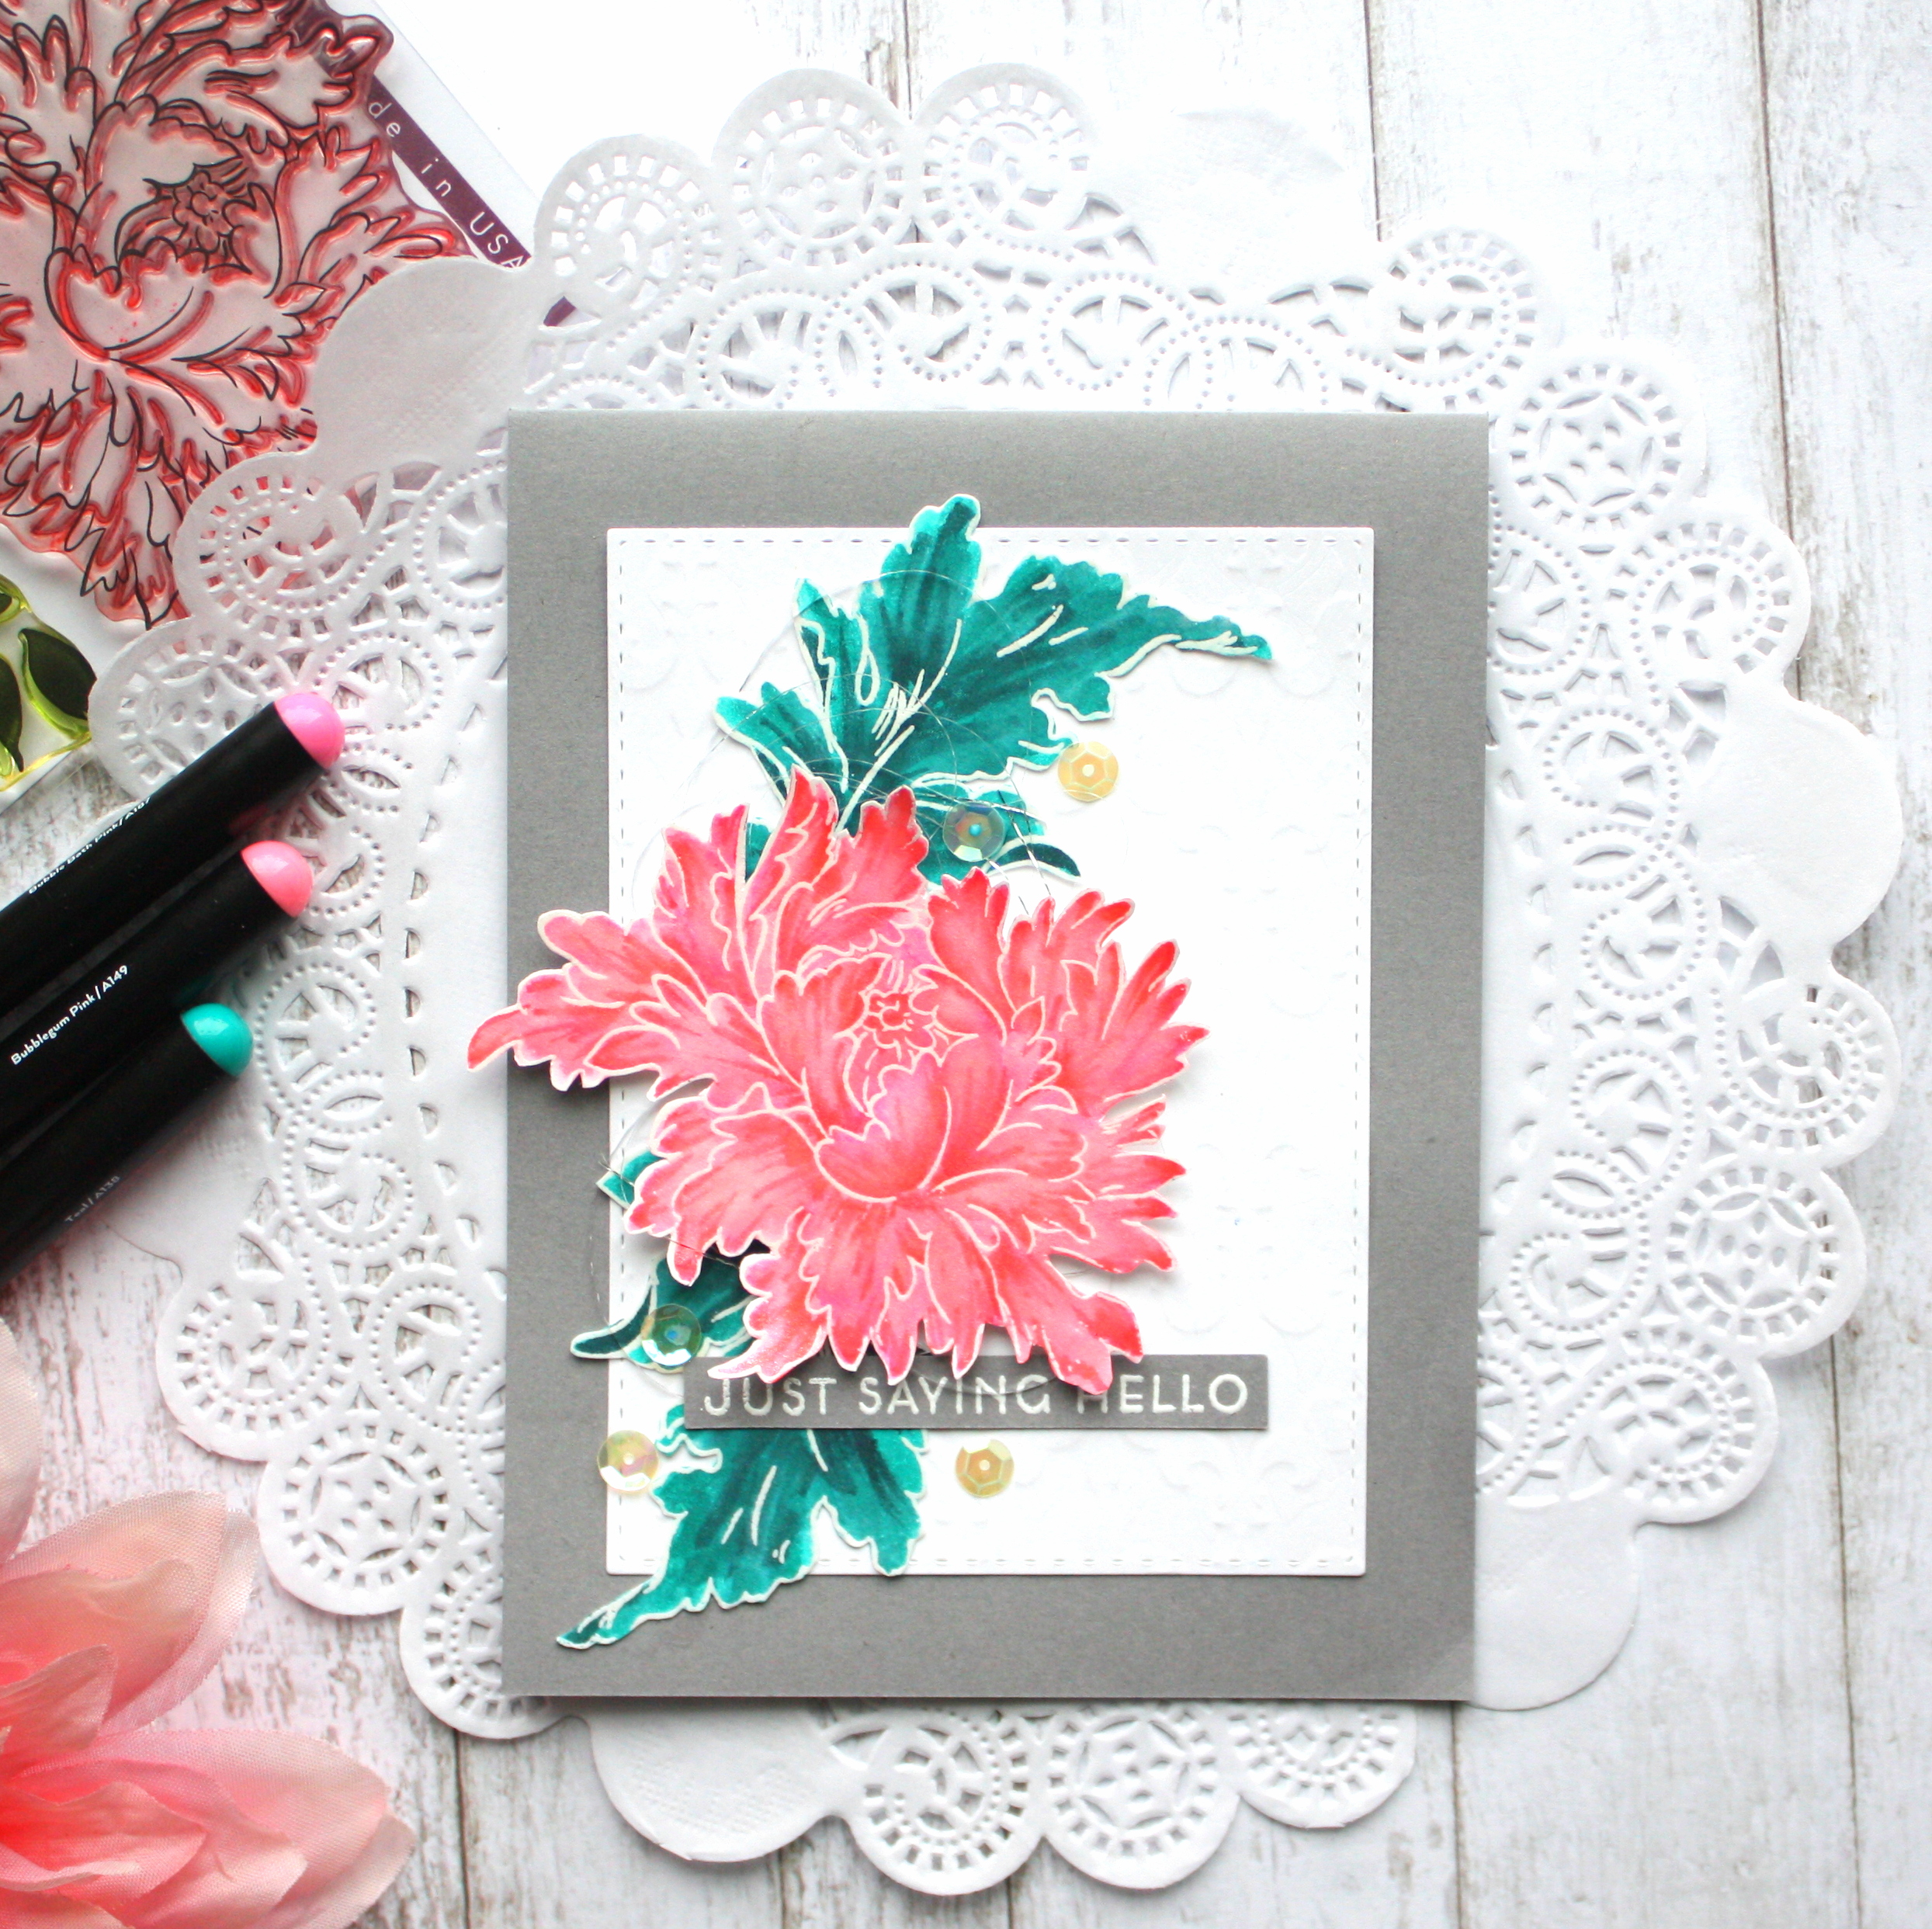
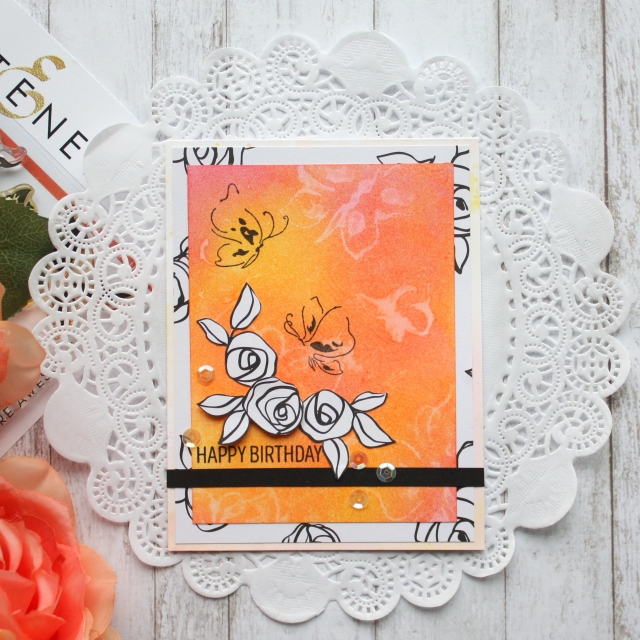
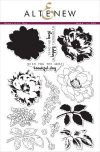
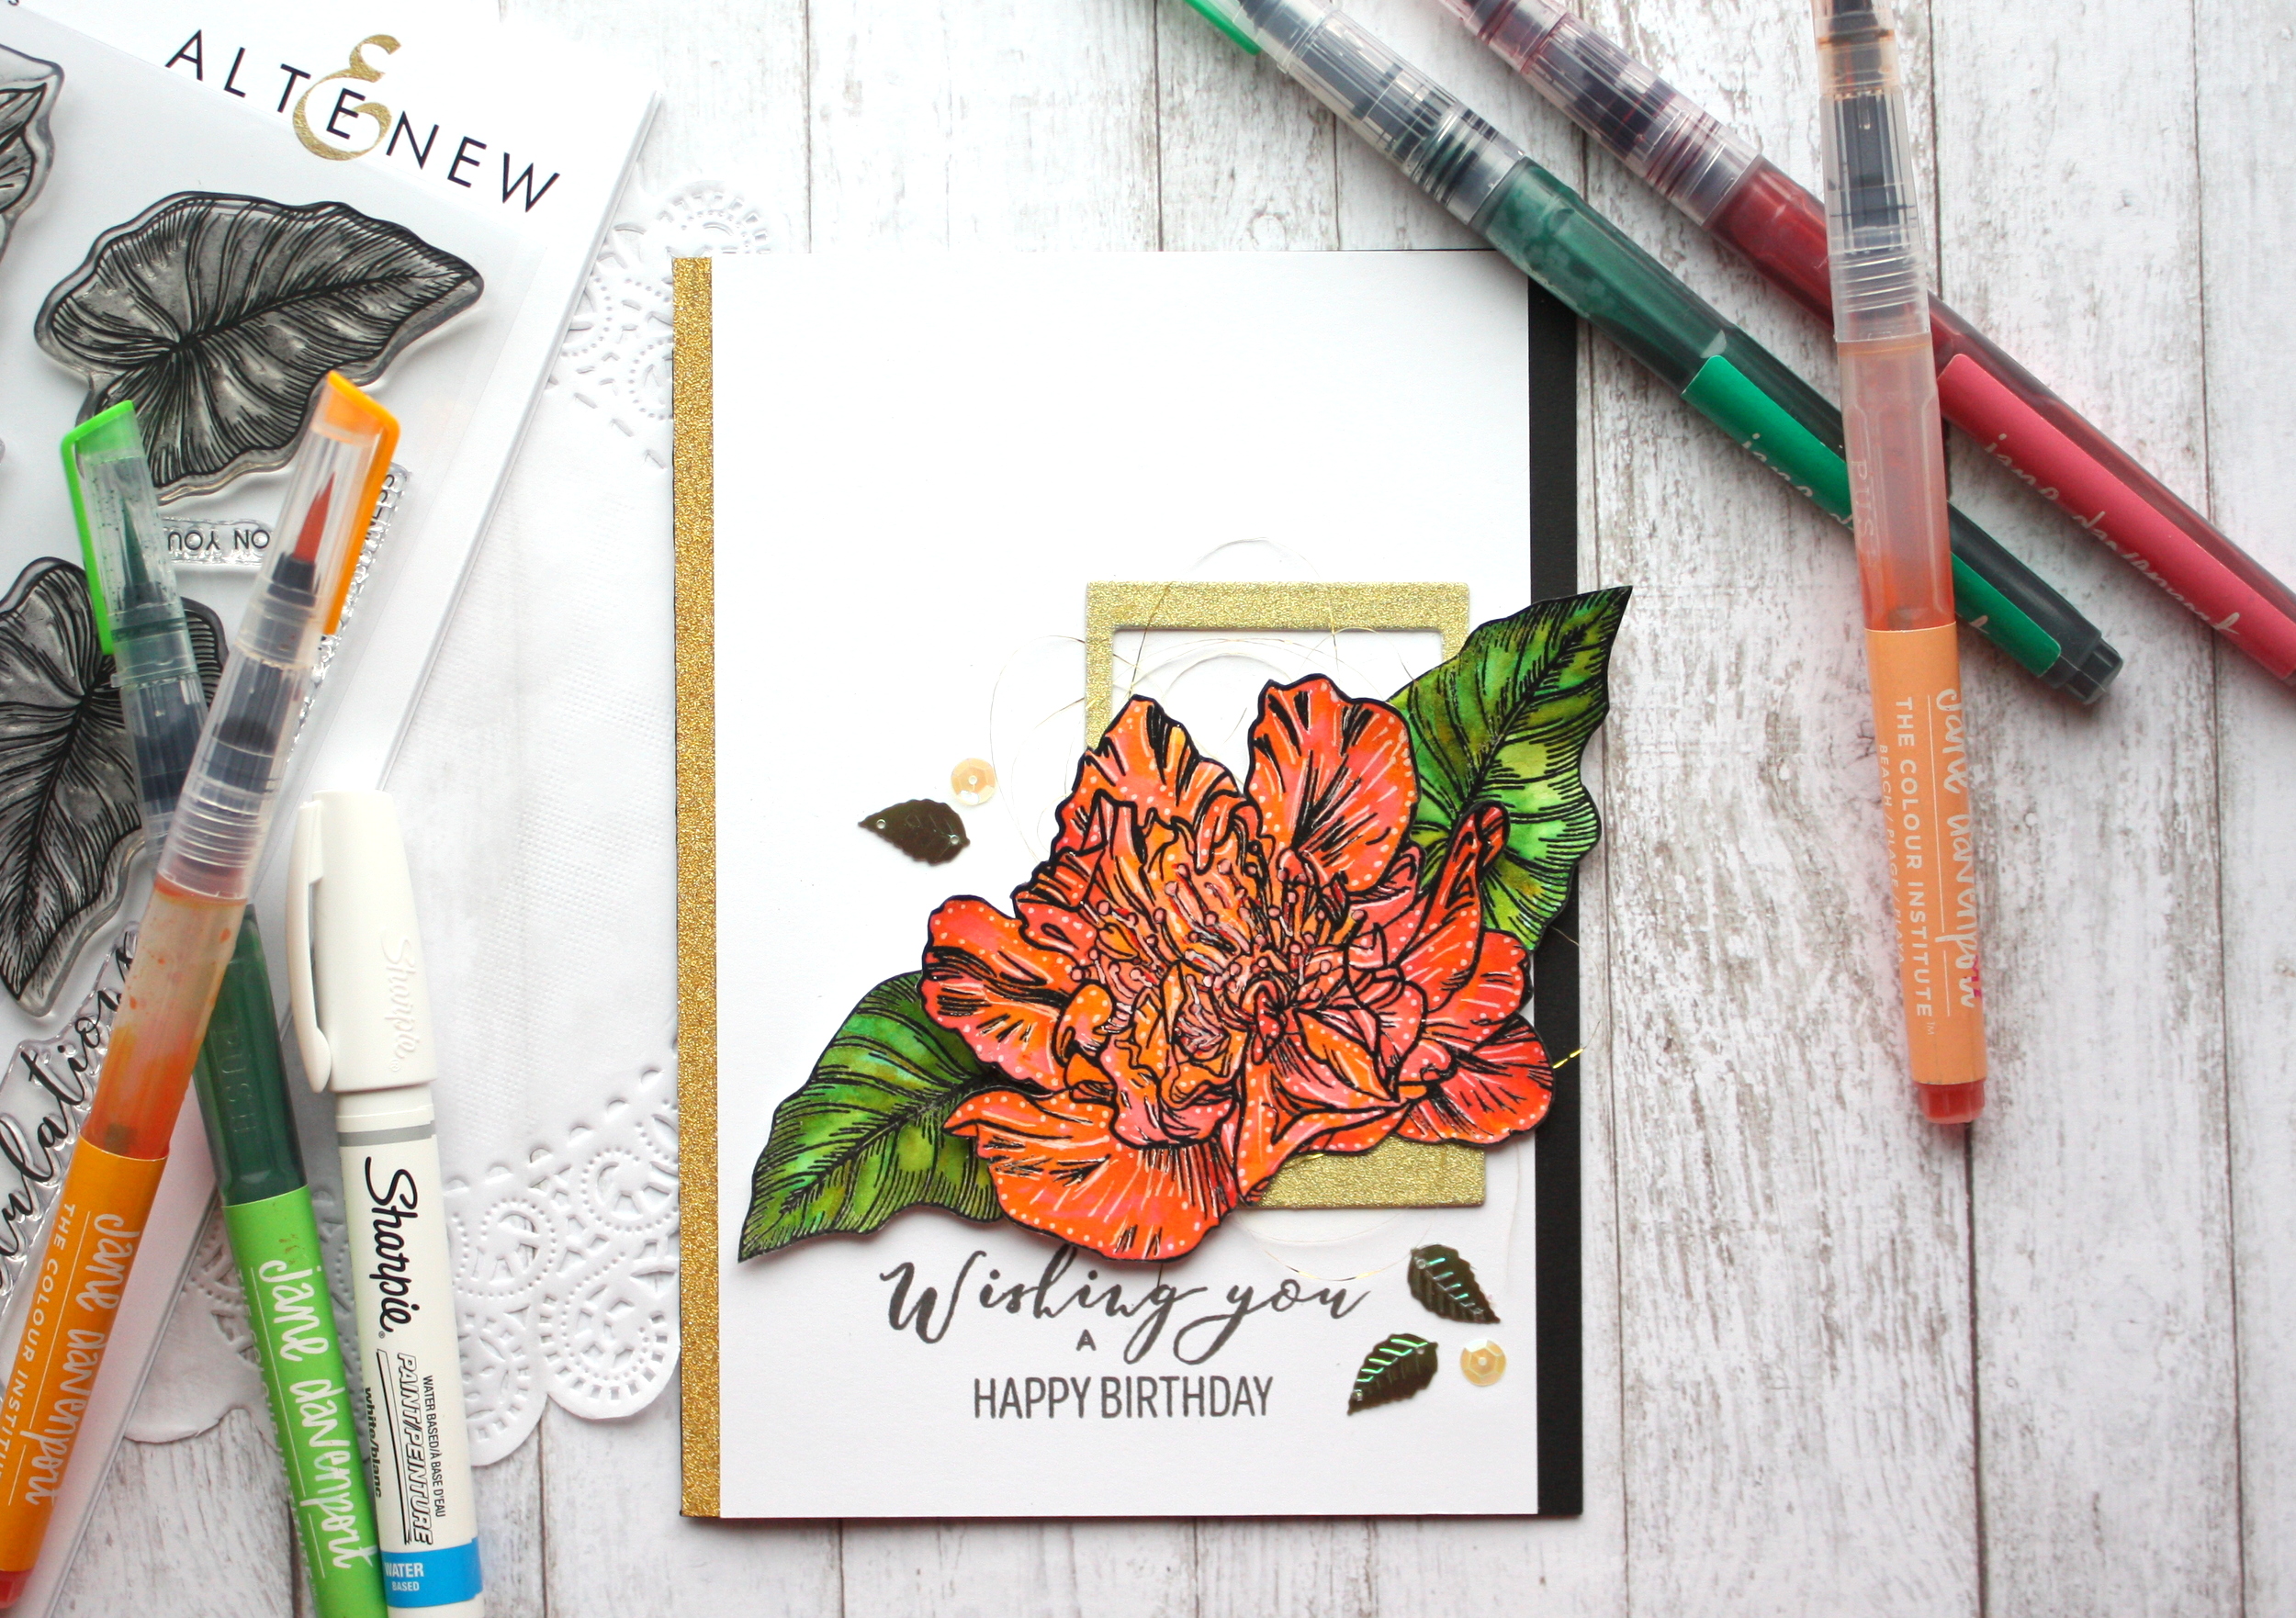
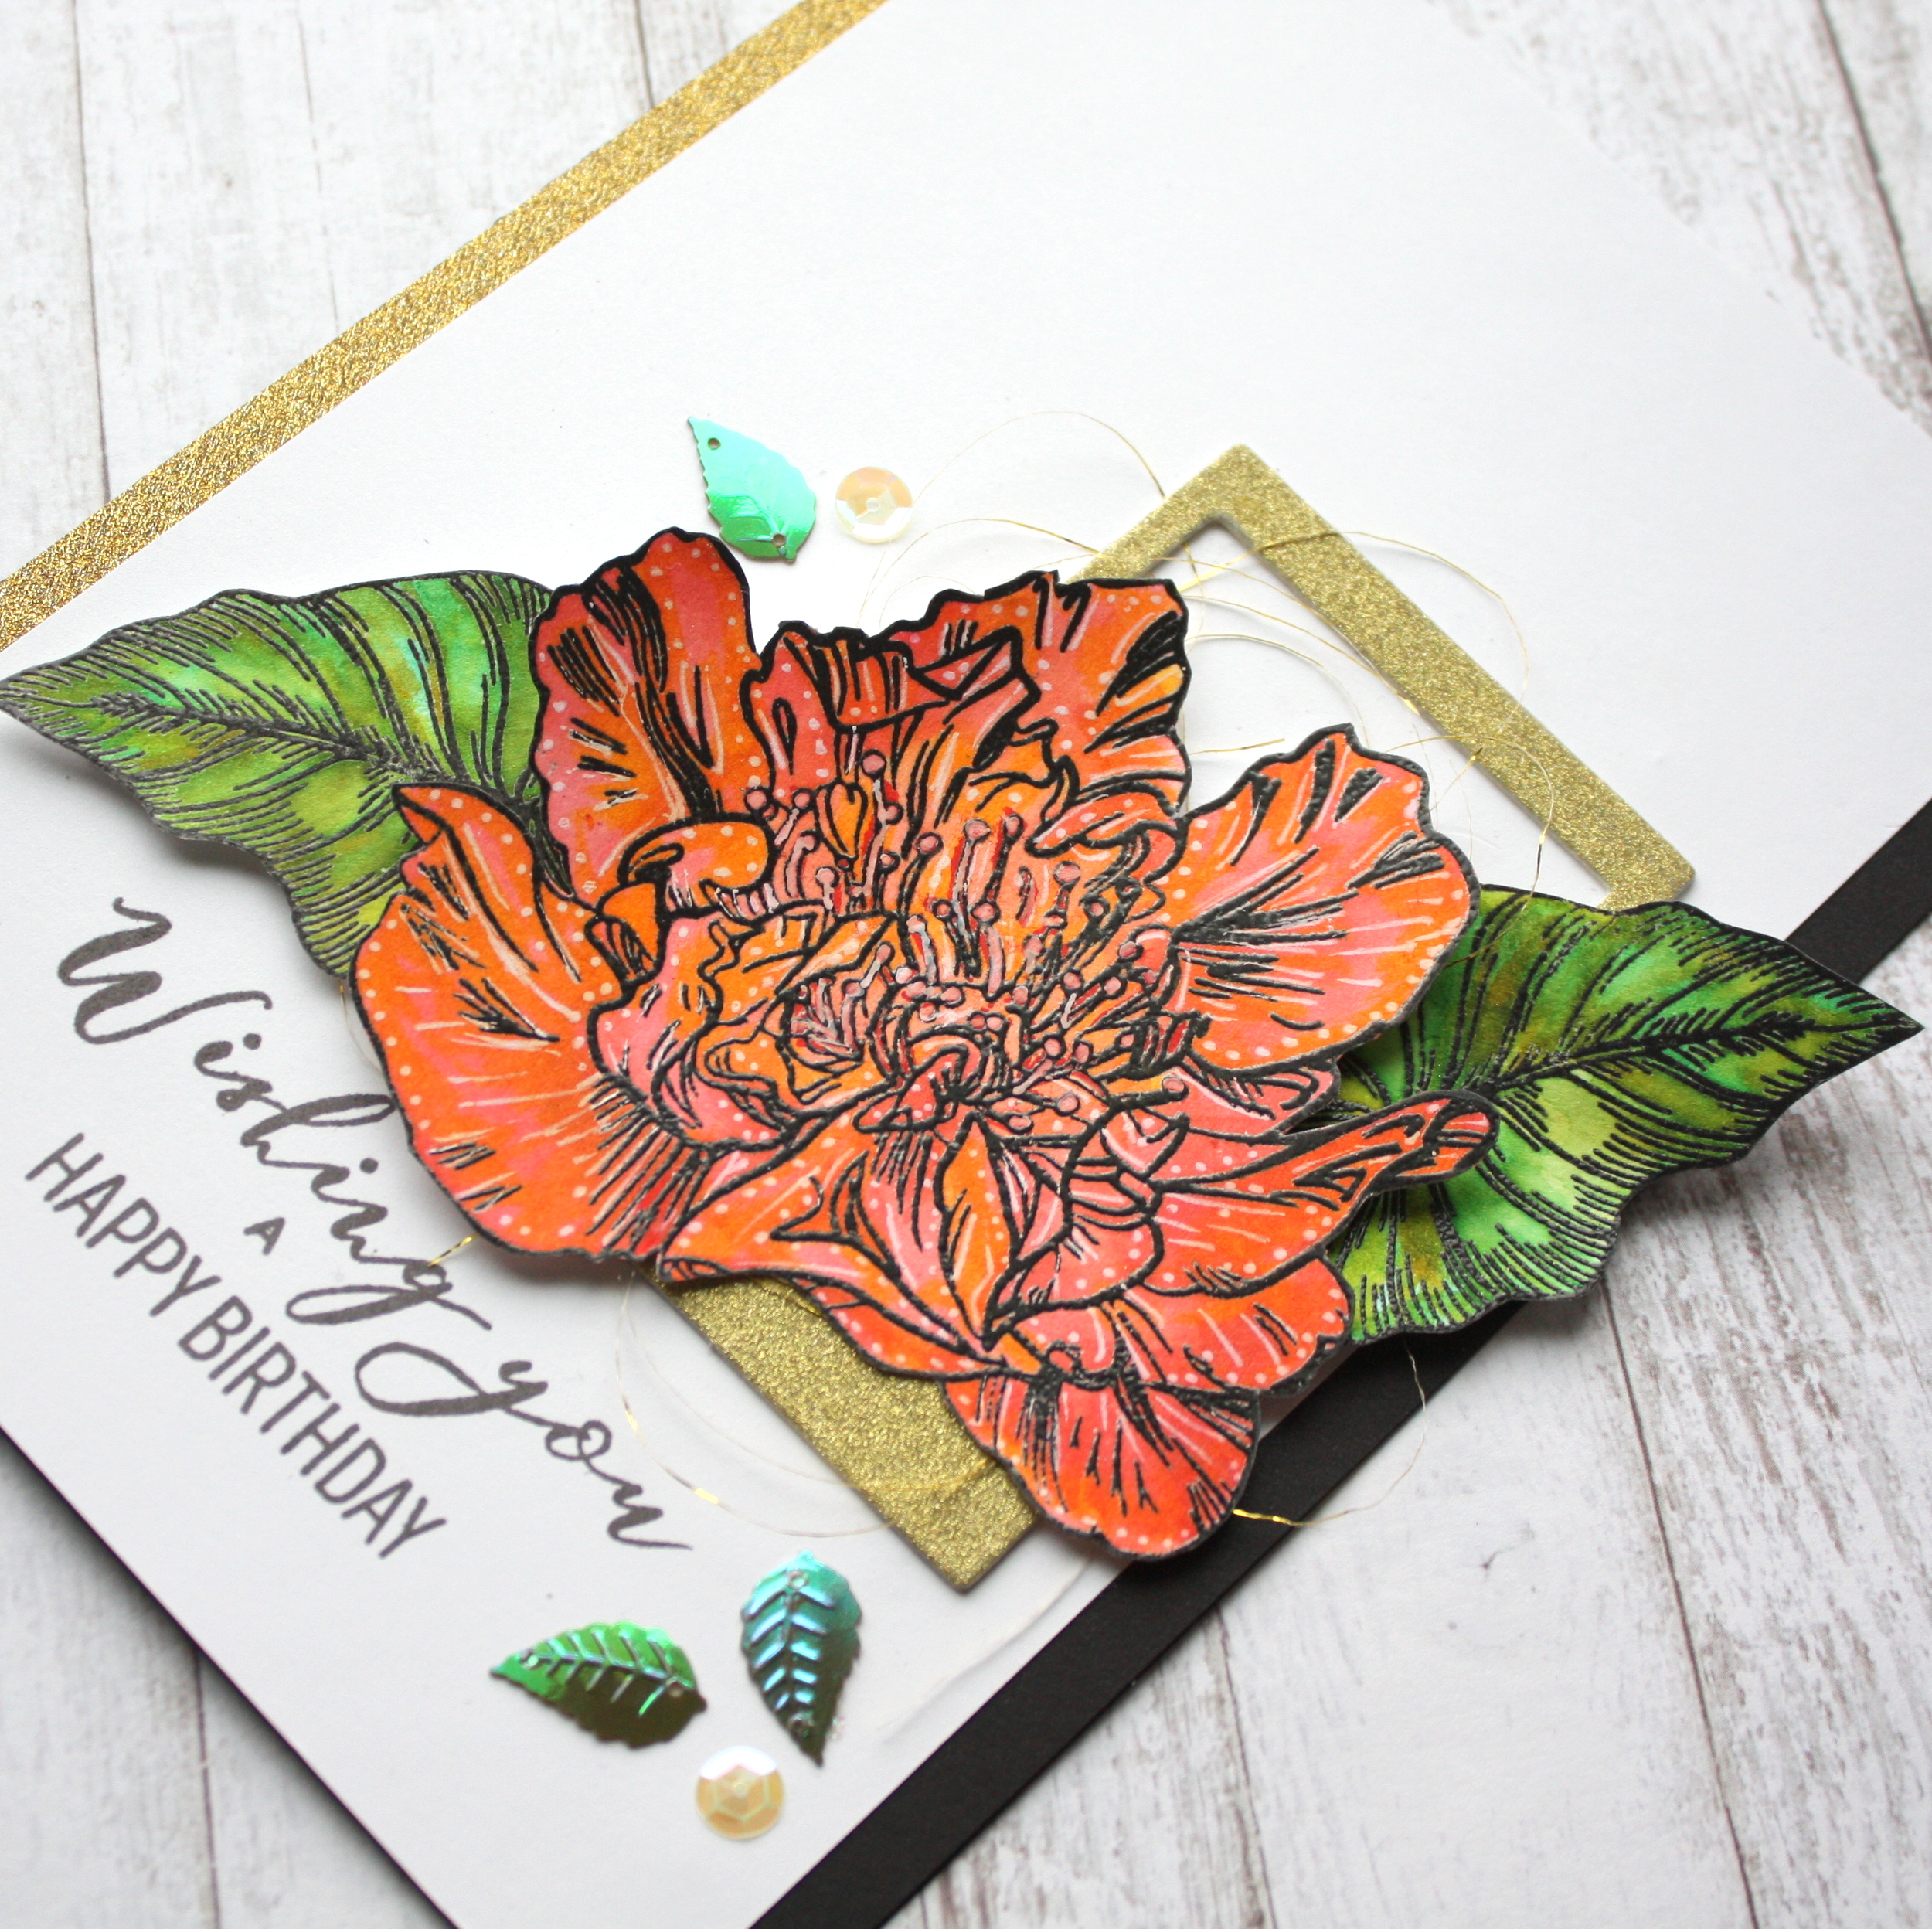
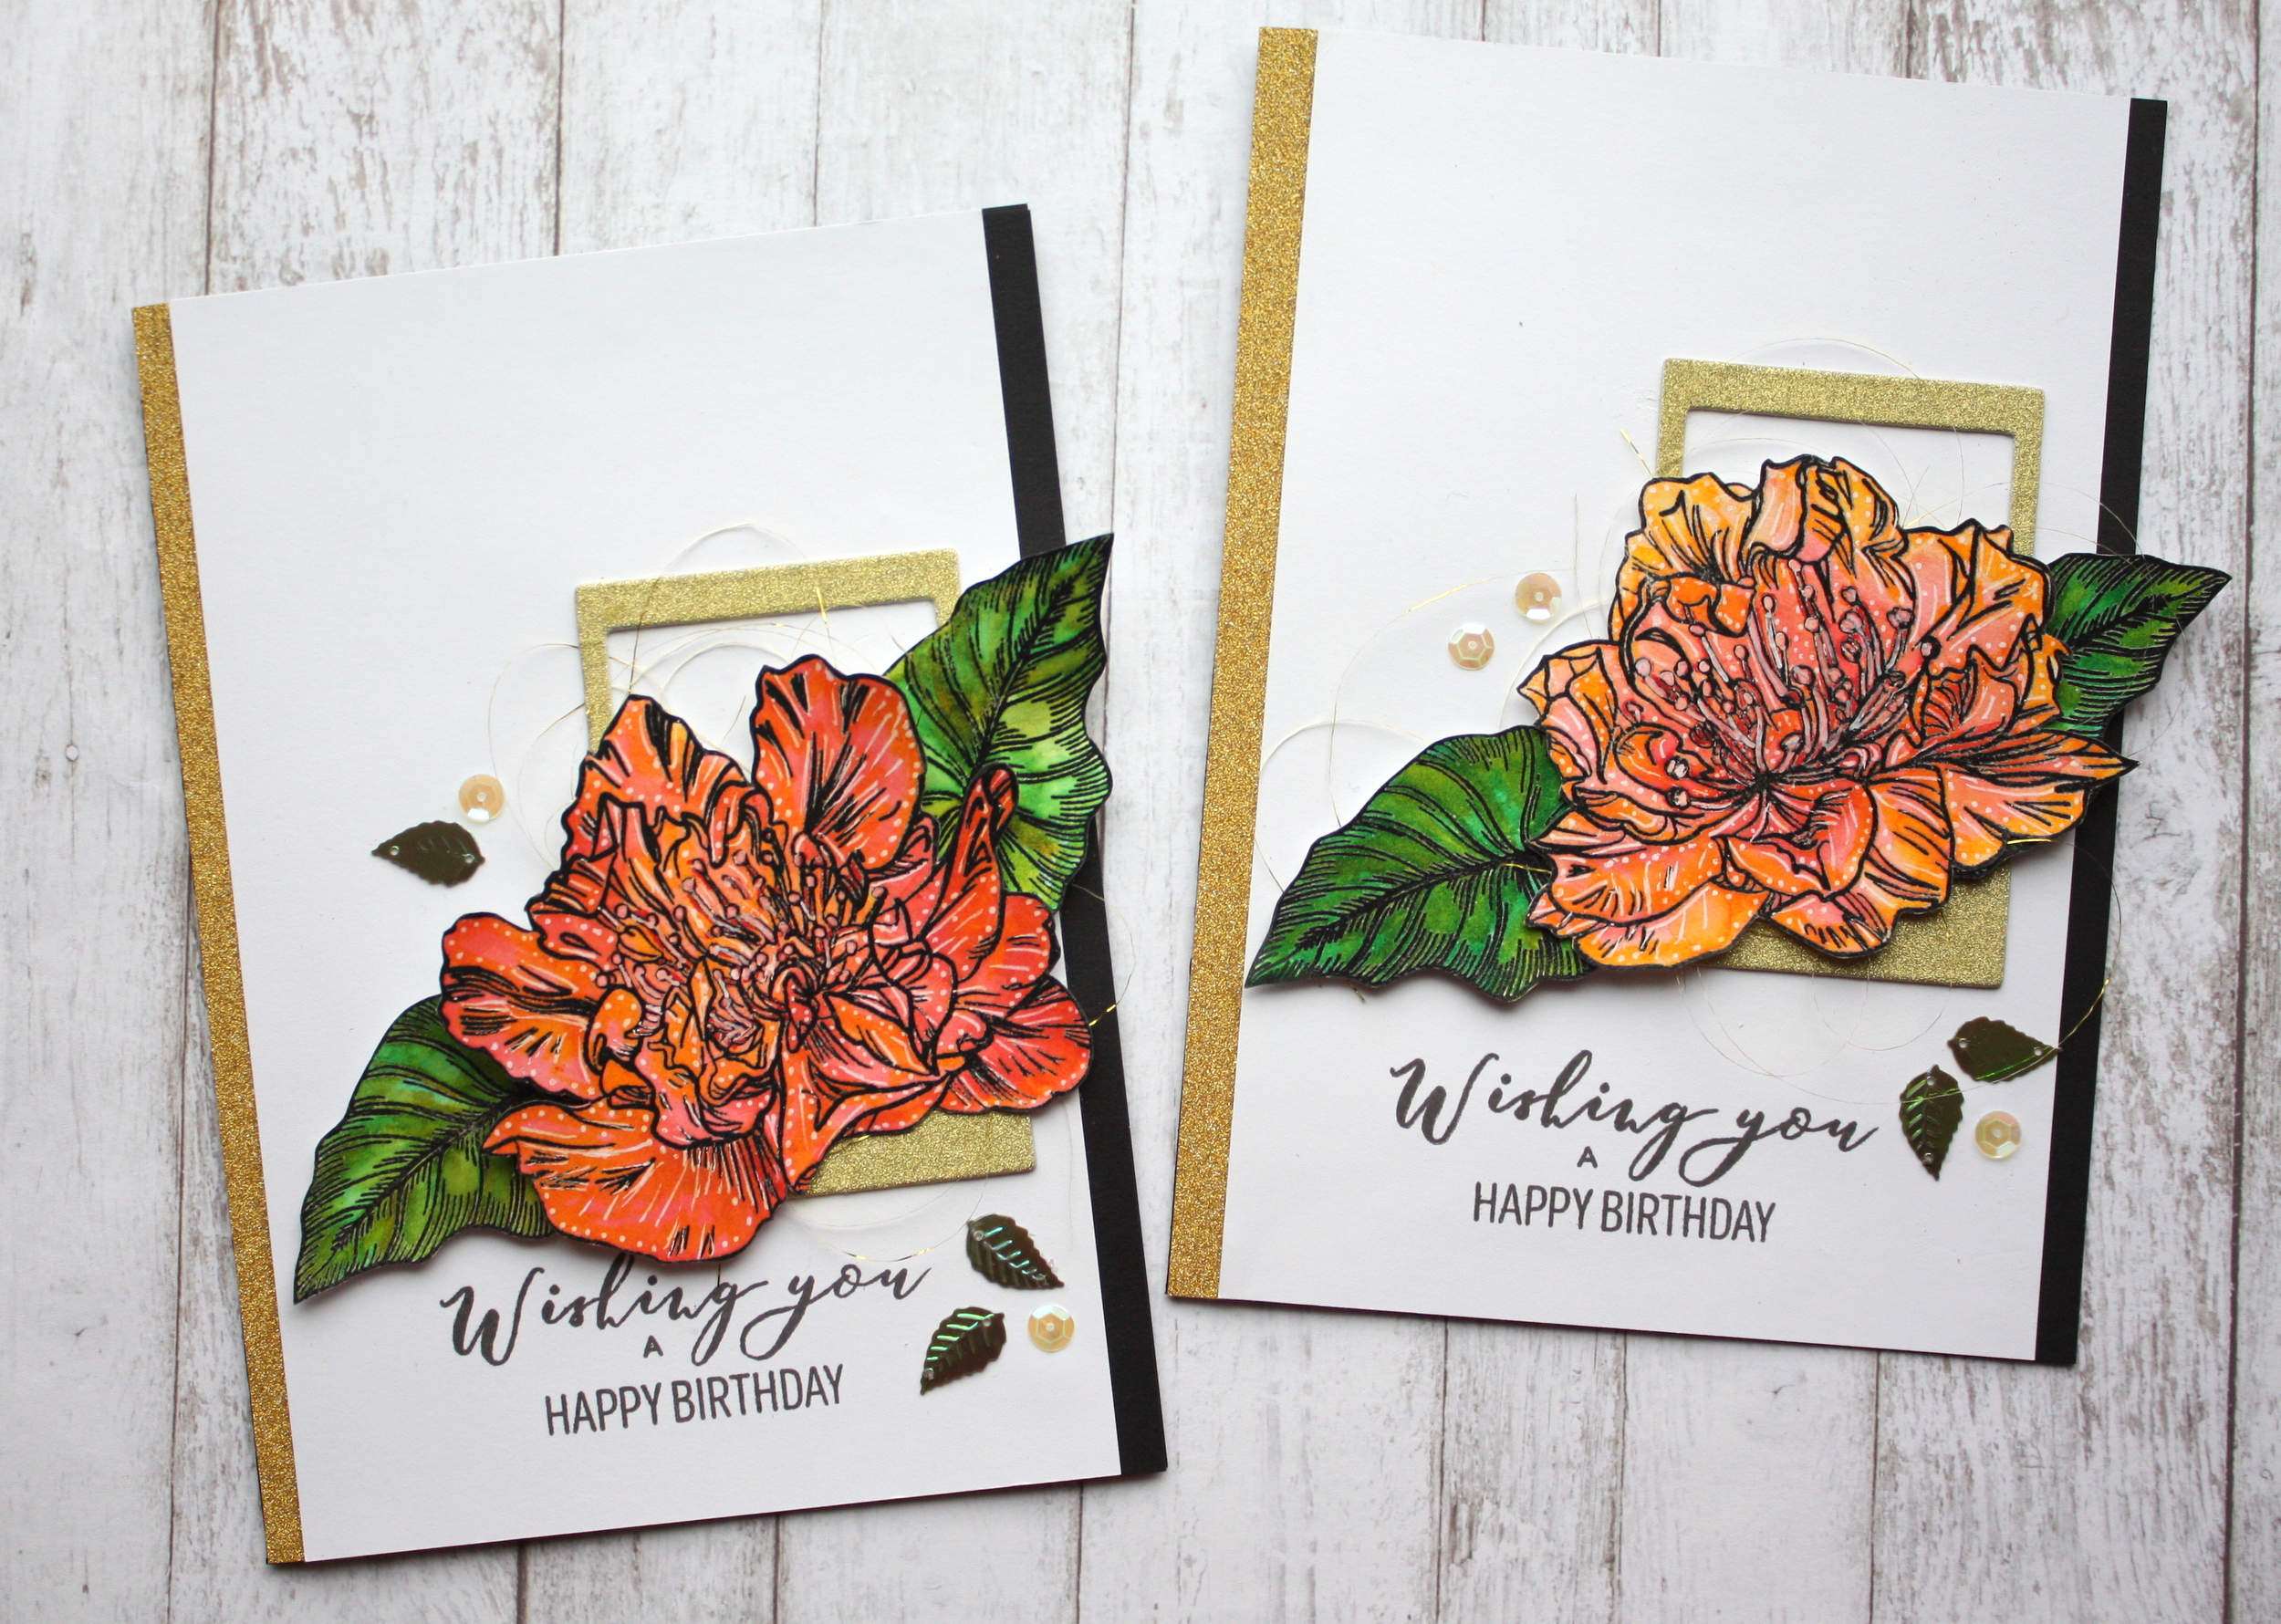
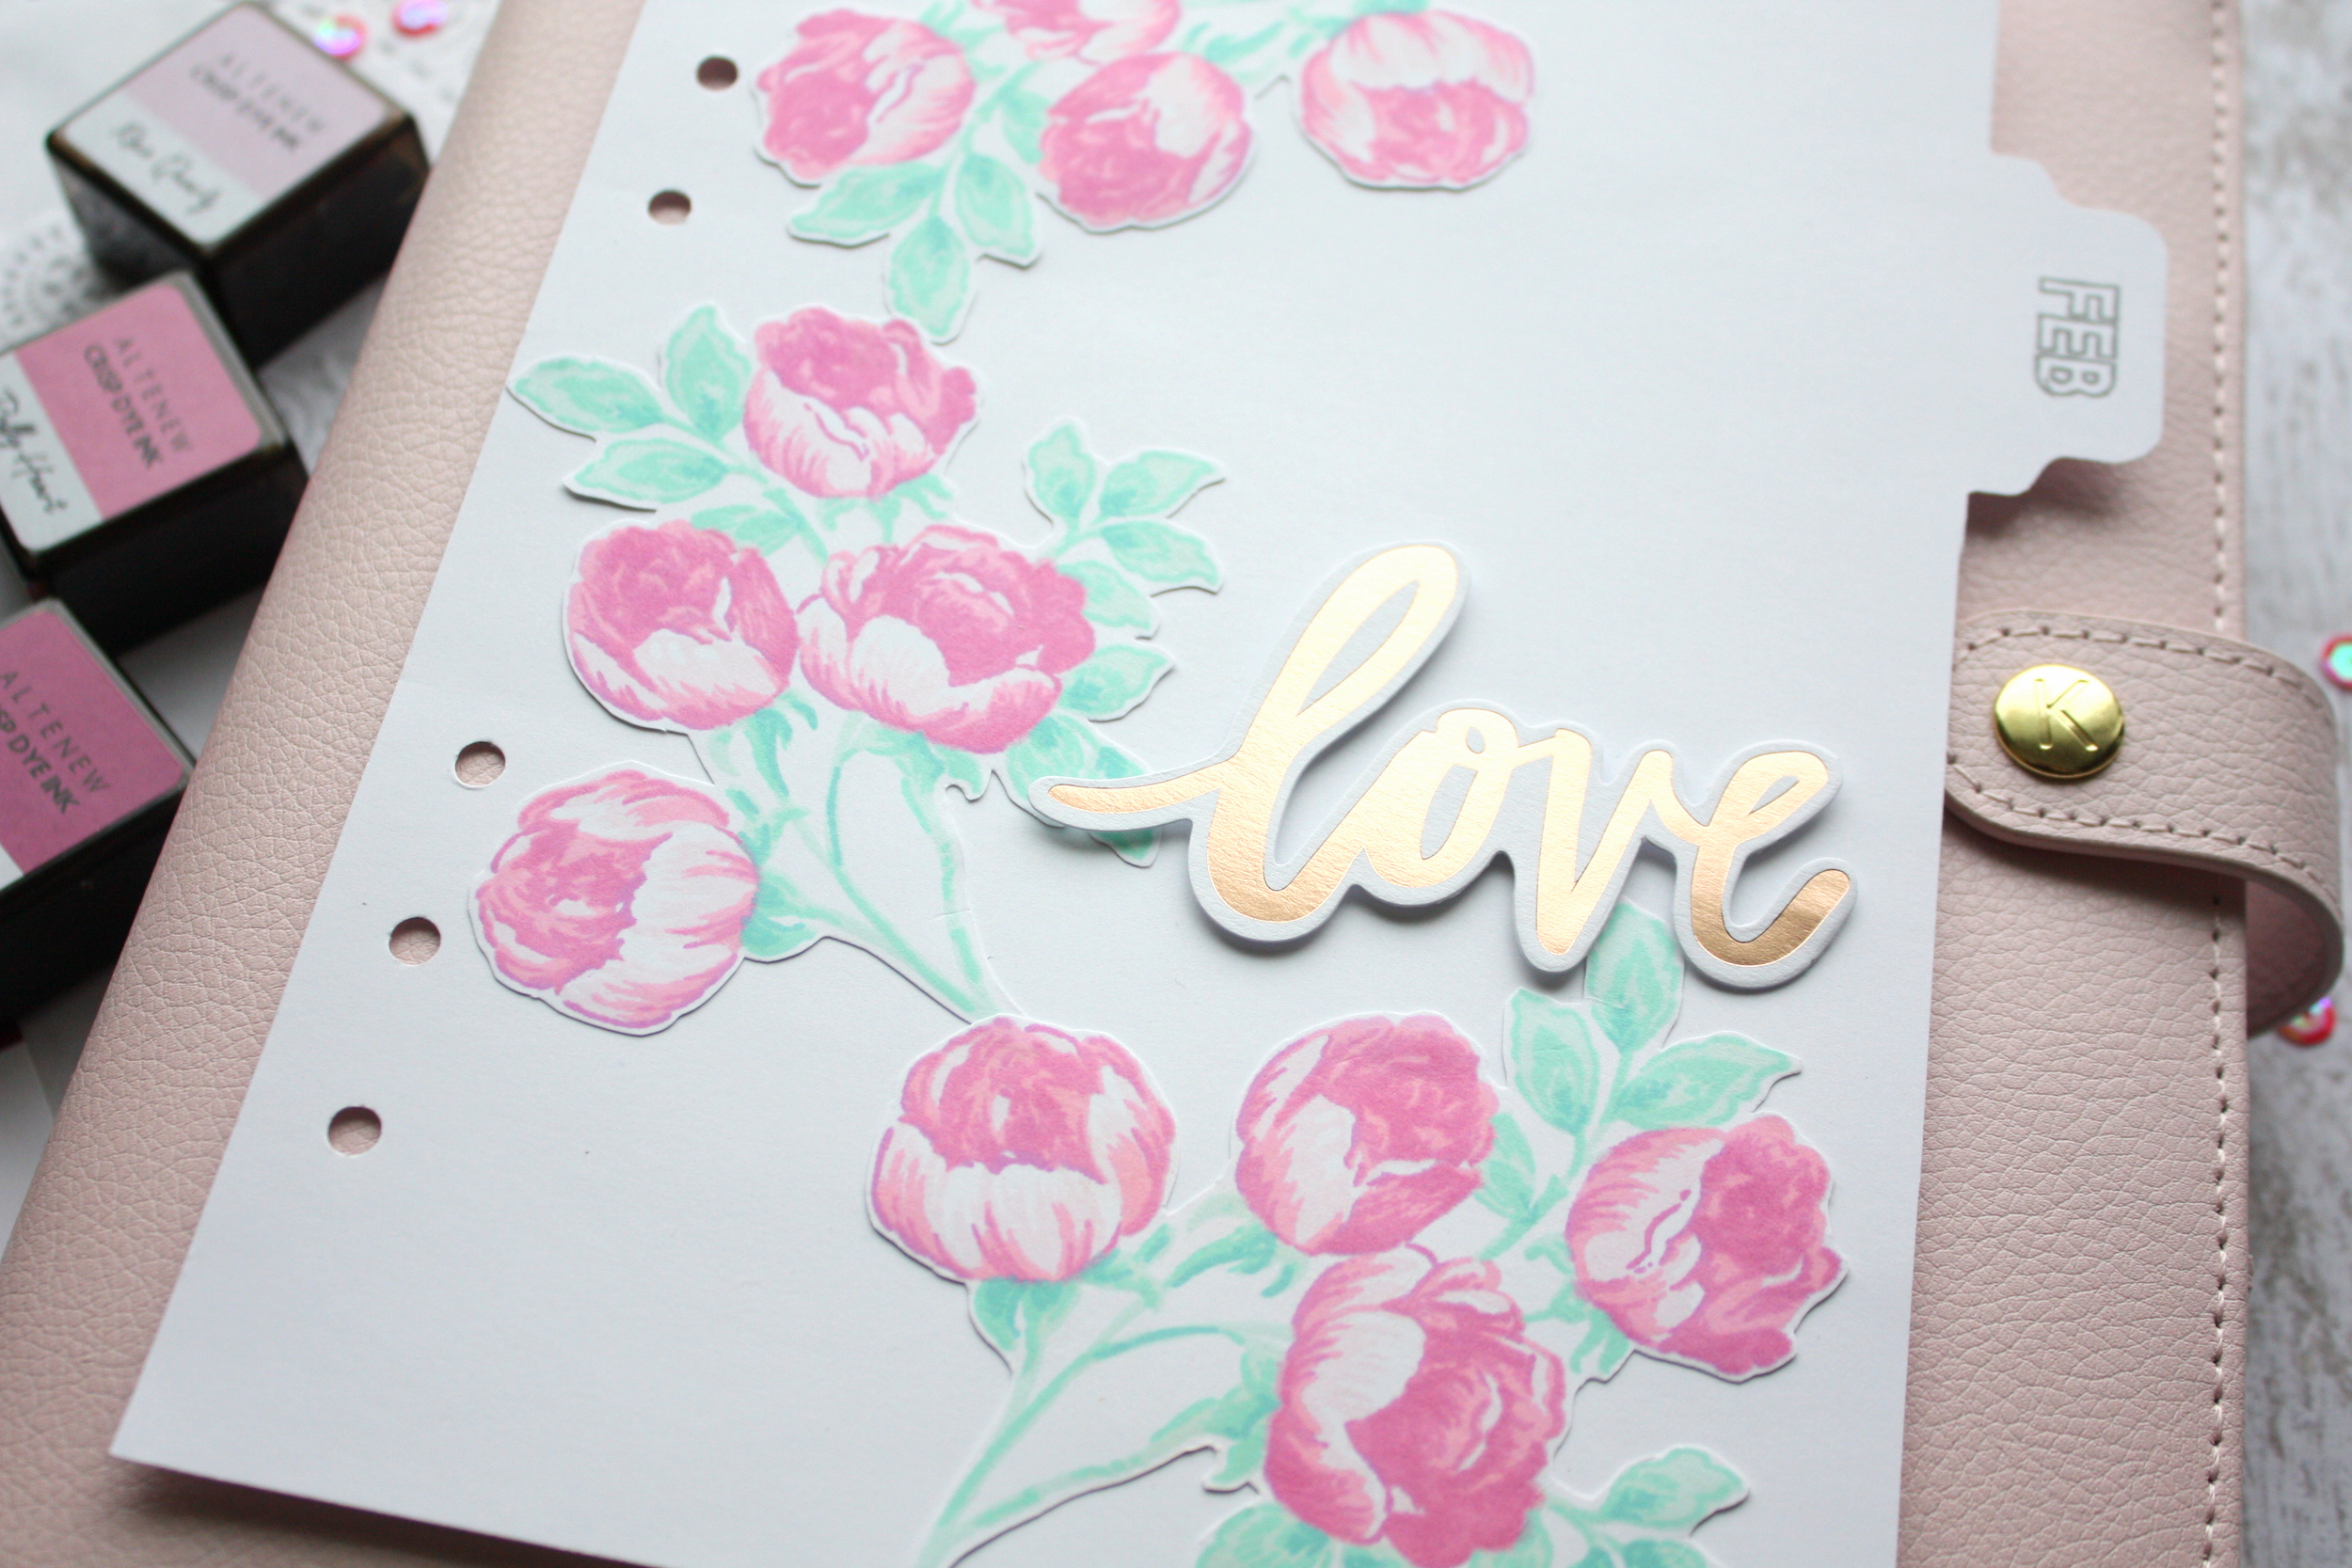
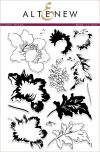
First, I stamped and heat embossed the floral image from Majestic Bloom stamp set and the leaves from Crown Bloom stamp set with clear embossing powder. Then I used my Arteza brush pens for coloring the images.

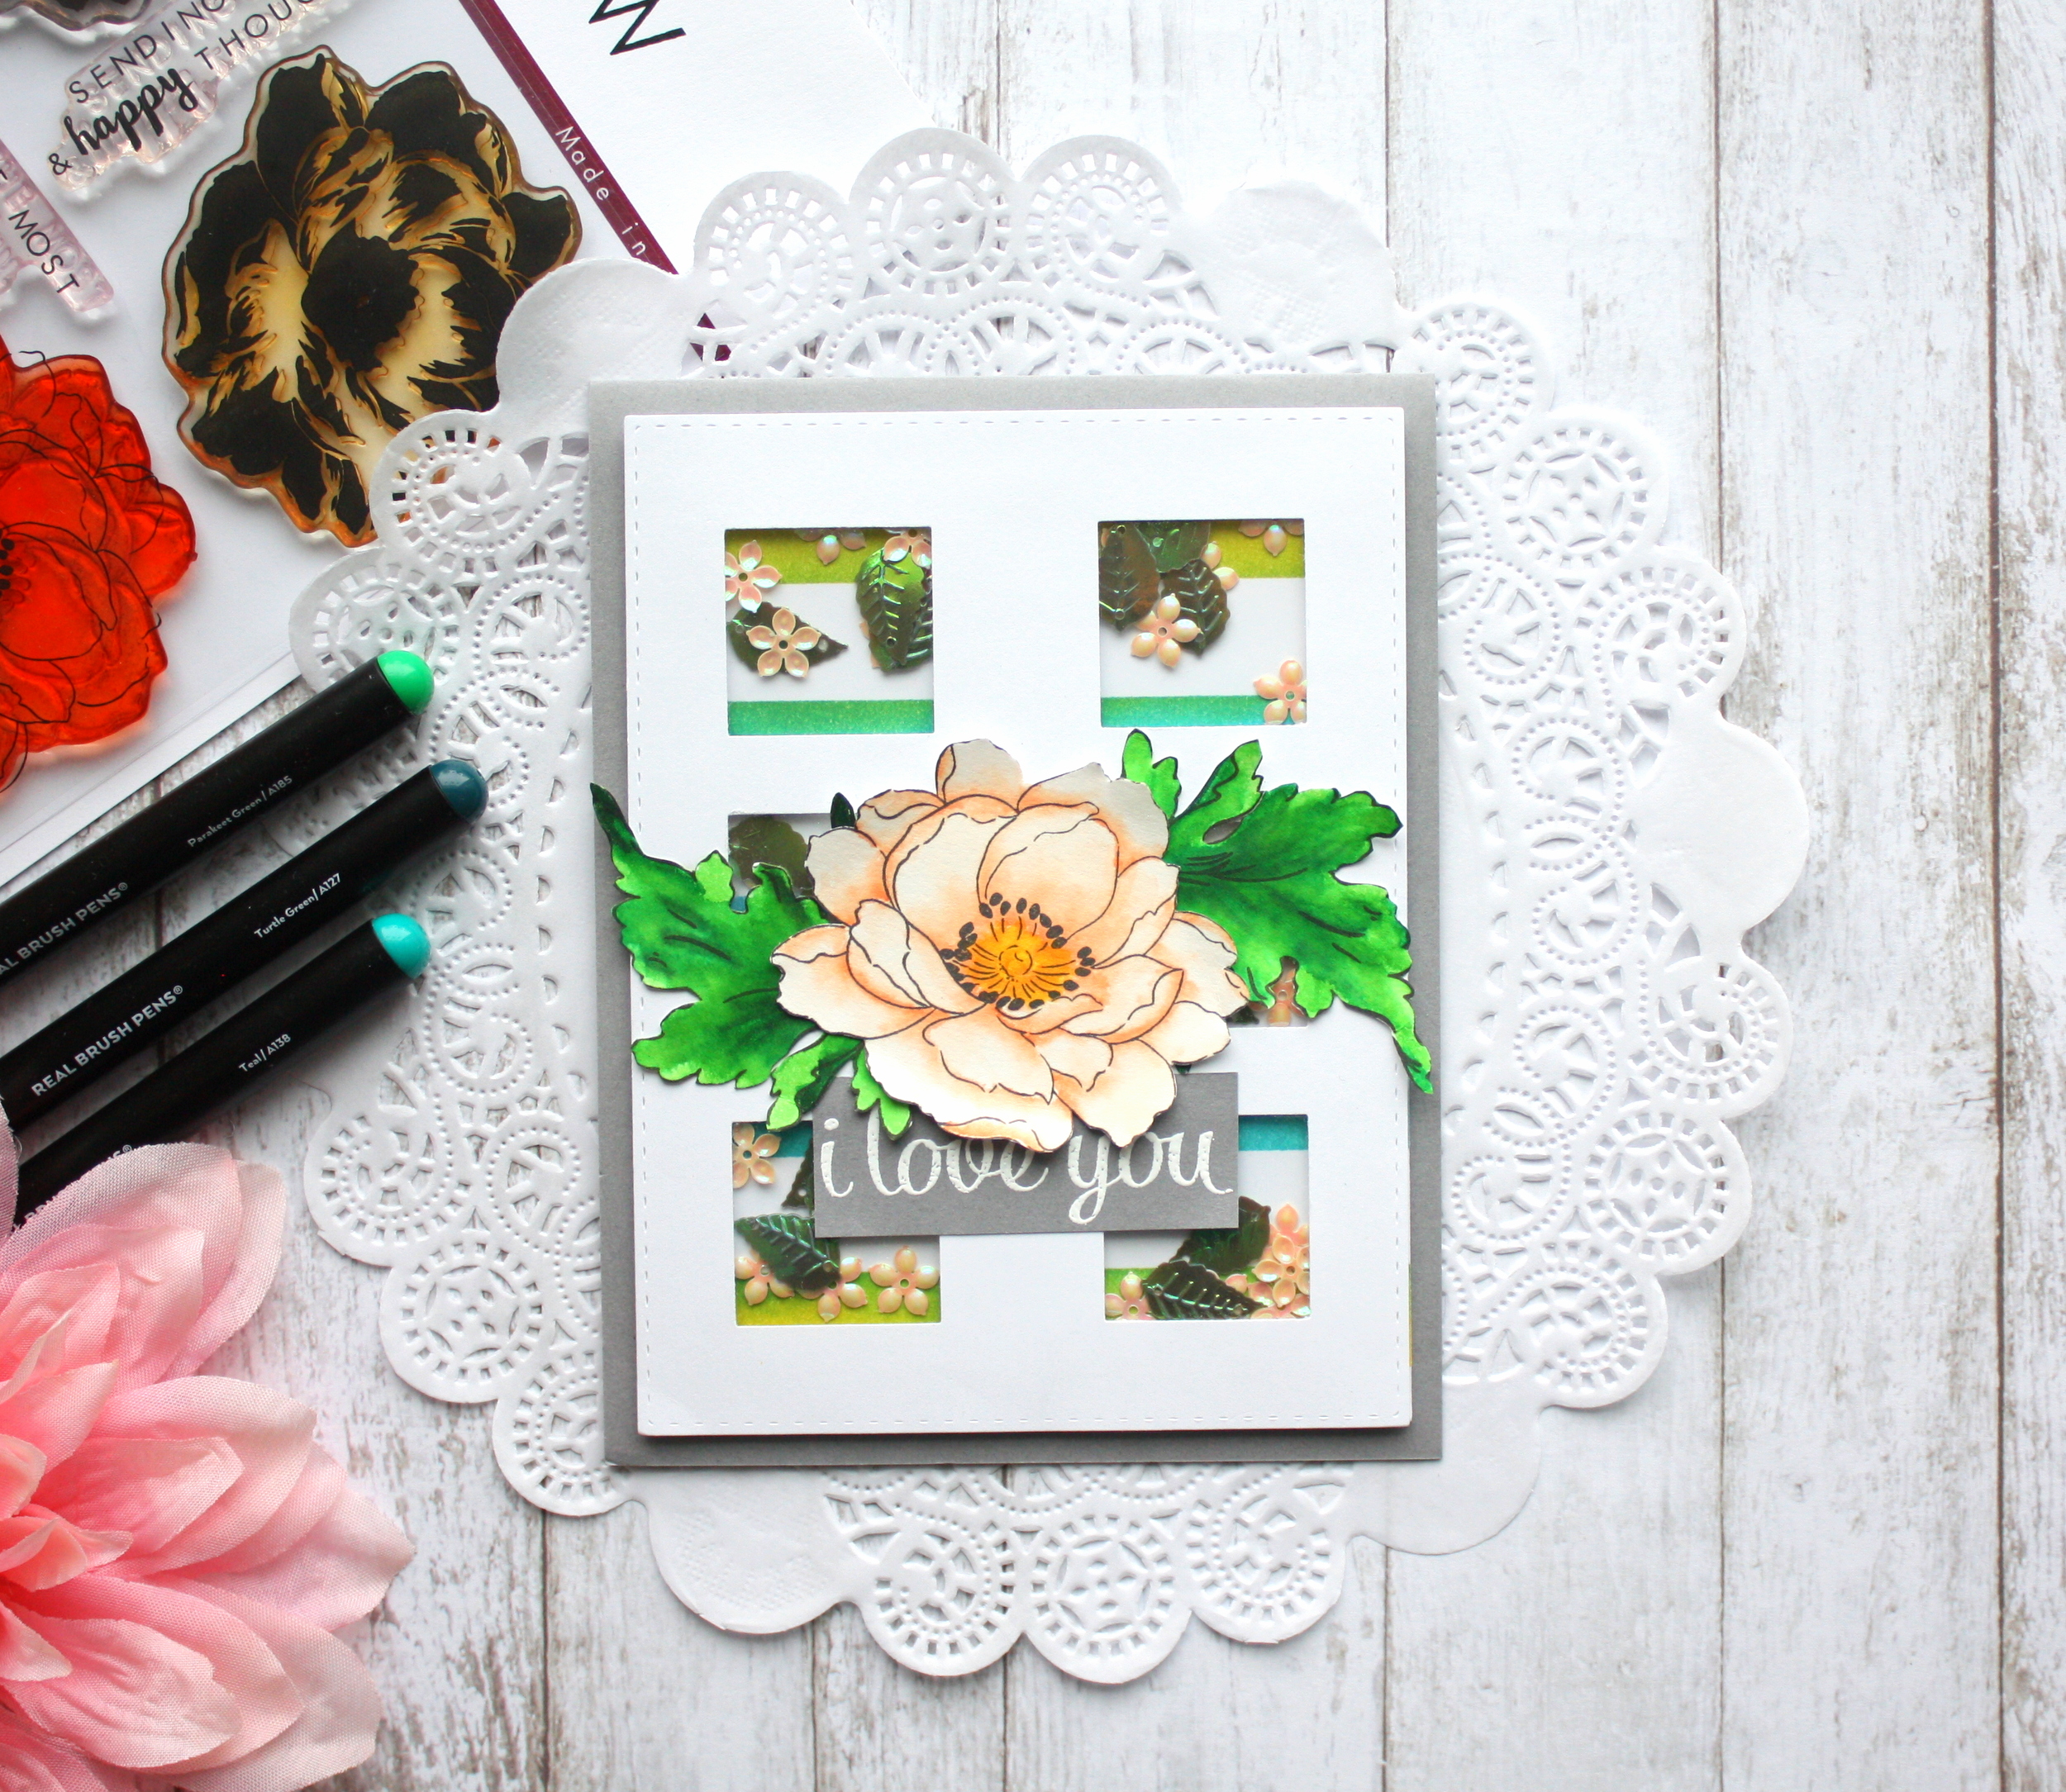
Then I embossed a white cardstock (3.75″ x 4.5″ ) to have a textured background and diecut the panel to have a stitched border. Then I adhered the panel to a grey A2 card. I then arranged my floral arrangement on the card and added some silver thread behind the florals for some interest.

Just saying hello card

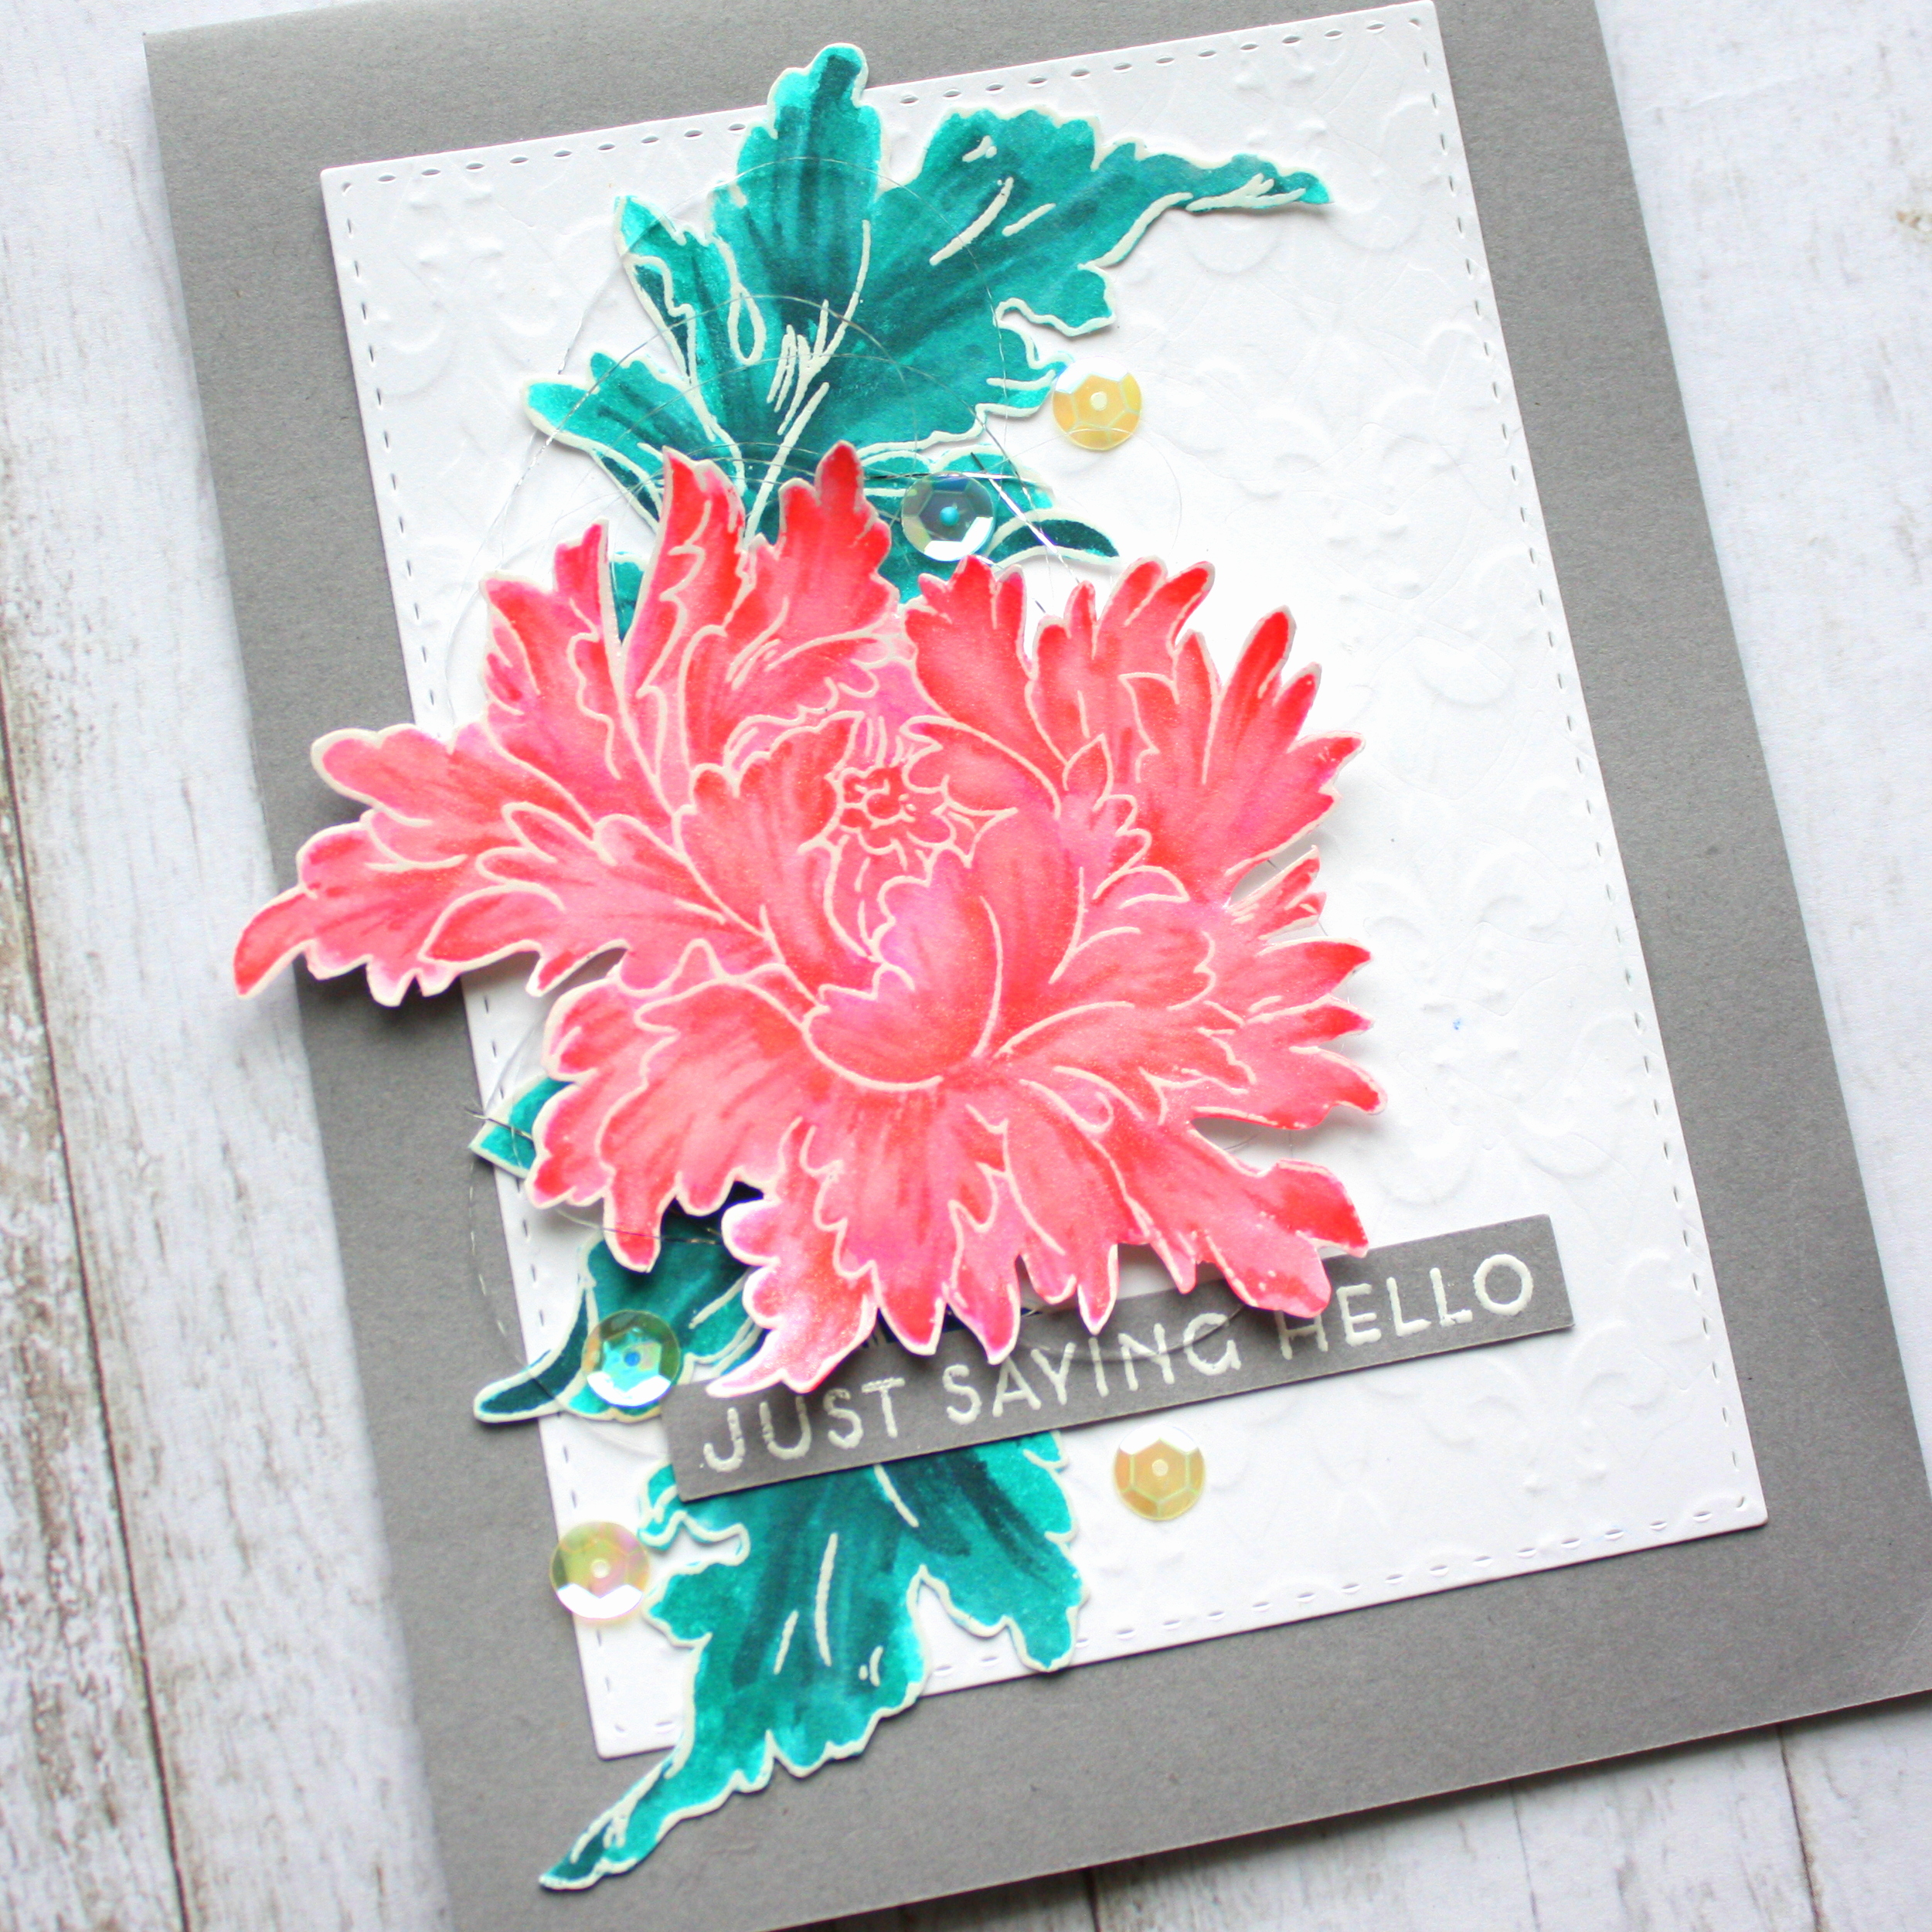
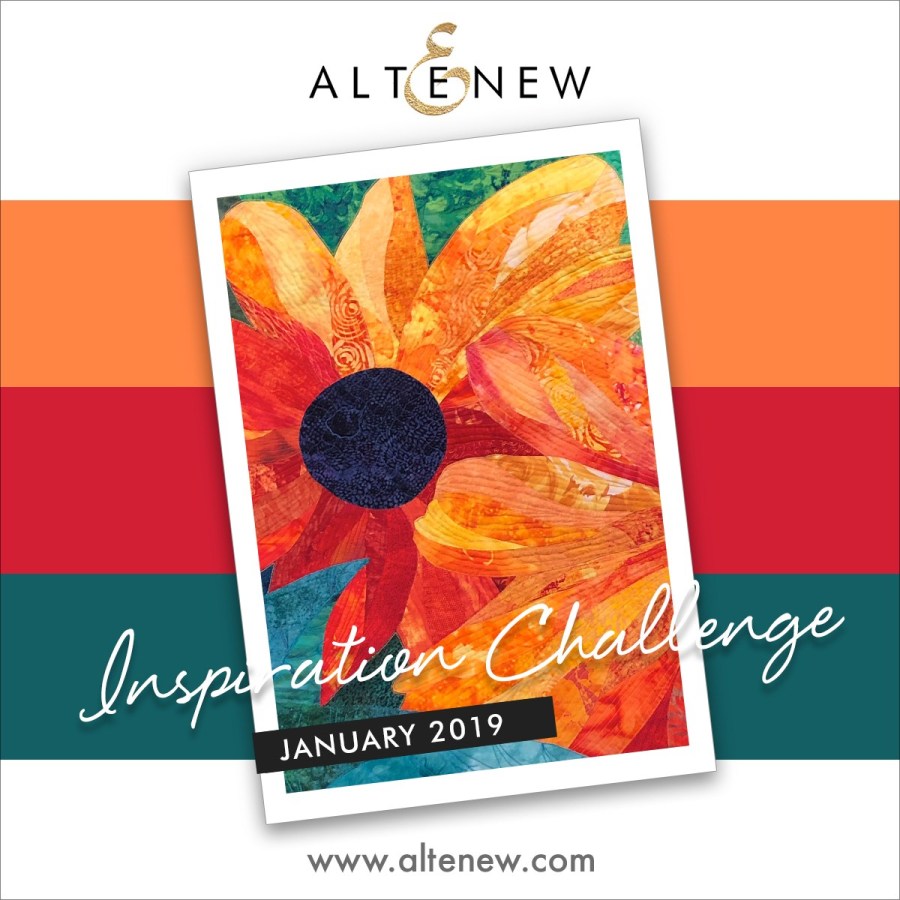
I finished the card with some sequins. I created this card with the colors inspired from Altenew February Inspiration Challenge.

Just saying hello card

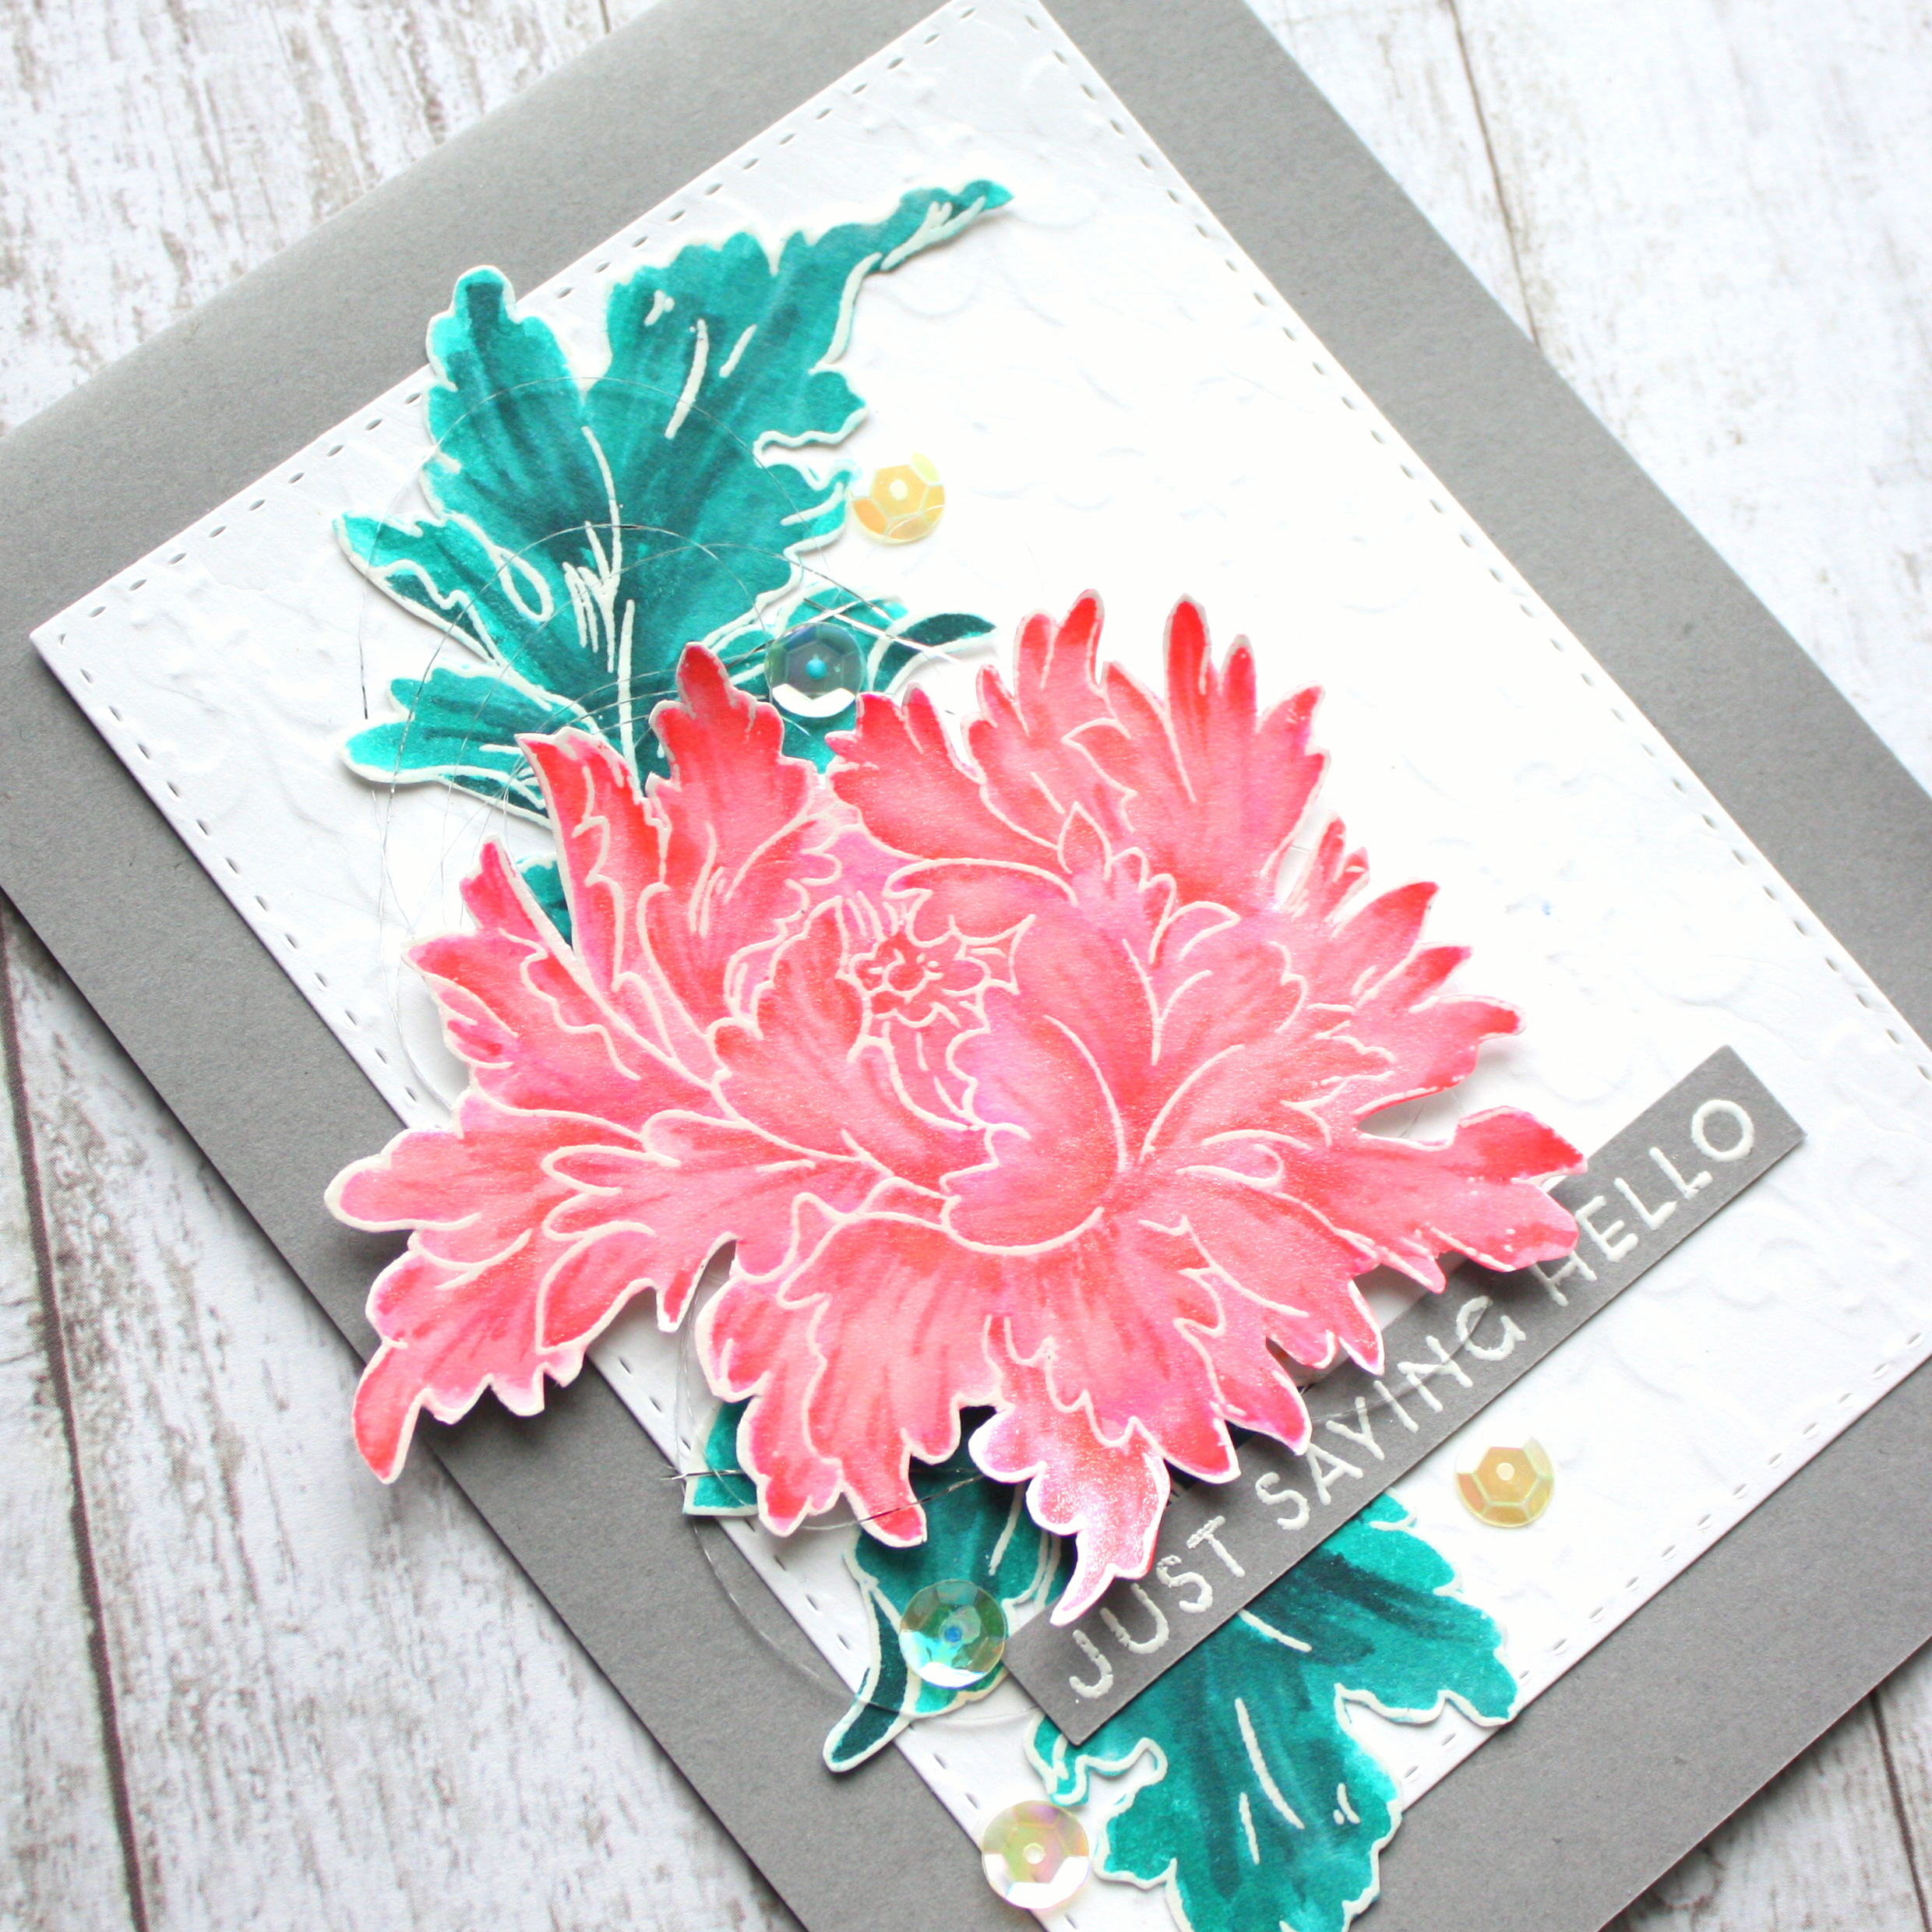
I added the sentiment “Just saying Hello” from Painted Butterflies stamp set. I stamped it on the same grey cardstock and heat embossed in white.

Just saying hello card

Thank you for stopping by and hope you have a good weekend ahead! Happy crafting!

Supplies used:

*Affiliate links used where I earn a small commission at no additional cost to you every time you click through and purchase product(s) linked in this post. Thank you so much for your support!*

Beyond basics background birthday cards

Hello everyone! I have two birthday cards to share today. They are really fun to make and messy really, but fun!

birthday cards with fun background

I was inspired to make these cards when I took the class Beyond Basics Background on Altenew Academy for my AECP. I started with inking the background with water based inks. I created the first card panel with Distress Inks – Squeezed Lemonade, Spiced Marmalade and Festive Berries. Then I stamped some butterflies from Painted Butterflies stamp set using spritz of water using a stamp platform to remove the ink on the background.

birthday cards with fun background

Then I put together an A2 card. I added a 4″ x 5.25″ pattern paper from Altenew Reflection Scrapbook Kit then I cut down the water bleached background from distress ink to 3.5″ x 4.75″. I added some fussy cut flowers from the same patterned paper to create a floral cluster. Then I stamped the same butterflies from the same stamp set with Jet Black ink. I stamped the sentiment Happy Birthday from WPlus 9 Happy Gang stamp set. I added a thin black strip of paper to ground the card. I added clear sequins to finish off the card.

I had a lot of fun so I created another card with the same technique. I made the second card panel with Altenew Inks – Mango Smoothie, Peach Perfect and Cotton Candy. Then instead of stamps, I used water droplets that I flicked onto the card and let dry. It created an interesting water droplet patterns.

birthday cards with fun background

To put this card together, I cut the same patterned paper to 4.25″ x 5.5″ and adhered it to an A2 card. I cut the inked background to 4″x5.25″. I added a small strip of patterned paper and black strip of cardstock again to create the ground of where my florals will sit. I stamped the flowers from Painted Flowers stamp set and fussy cut them . I adhered the frame and some silver thread behind the florals. Then I finished the card with some sequins.

Thank you for stopping by and hope you try out this technique! Happy crafting!

Supplies used:

*Affiliate links used where I earn a small commission at no additional cost to you every time you click through and purchase product(s) linked in this post. Thank you so much for your support!*

You are awesome card

Hello everyone! Today is another card sharing day where I created a card using the same floral and leaves from yesterday’s card. I colored the images differently this time and used a very bright card panel.

you are awesome card

I was inspired by the class I took on Altenew Academy – Color Your Day. I created the card using colors adjacent on the color wheel which are called “analogous” scheme to create more contrast. I used yellow-orange-green.

you are awesome card

I colored the flowers using Arteza Brush Pens then cut the images out with scissors. (Floral – Lemon Yellow/Orange/Cadmium Orange/Red, Leaves – Paraket Green/Teal) For my card base, I used a background stencil of triangles and added matte gel medium to create a slight texture and interest.

Then once it is dry, I adhered my arrangement and stamped the sentiment “You are awesome” from the Painted Butterflies stamp set with similar color of my flowers. (Galactic stream ink)

you are awesome card

A simple card with bright colors just to brighten someone’s day! Thank you for stopping by and Happy crafting.

Supplies used:

*Affiliate links used where I earn a small commission at no additional cost to you every time you click through and purchase product(s) linked in this post. Thank you so much for your support!*

Valentine’s Card

Hello everyone! Wishing you a Happy Valentine’s Day! Today I have another card to share – it’s a card for my husband for today’s celebration. We don’t really do much but he does love shaker cards so I made one for him.

i love you card

First I took a white card stock and masked off with different size strips of washi tape to create a stripe pattern. Then I used distress inks to blend the background of the shaker card. I used Squeezed Lemonade and Peacock Feathers. After that, I created the shaker window with another piece of cardstock using a 1.5″ square punch. I added the stitched border on the front using a stitched rectangle die. I added the acetate then I put foam tape around each window so that there are sequins always in the square.

i love you card

I added peach flower shaped sequins and leaves sequins for my shaker card. Then I mounted the panel onto grey cardstock.

I stamped the floral image from Beautiful Day with Versafine Onyx Black Ink and colored in with Arteza Peach brush pen. Then, I stamped the leaves from Crown Bloom stamp set and colored it Arteza parakeet green and Light green brush pens. I love to mix and match my leaves and florals from different stamp set to achieve different looks.

For my card, I took the inspiration from the class “With A twist” for AECP, where you add design on the inside of the shaker card. A truly fun class where each design of the cards have a twist to it!

i love you card

I added the sentiment “I love you” from Paper Smooches stamp set I blank you. I wanted a scripty font for my sentiment so I chose this and heat embossed it in white on the same grey cardstock.

i love you card

Shaker cards are fun and I hope you would give it a try! Happy Valentine’s Day. Thanks for stopping by and Happy crafting!

Supplies used:

Beautiful Day

*Affiliate links used where I earn a small commission at no additional cost to you every time you click through and purchase product(s) linked in this post. Thank you so much for your support!*

Fun background card

Hello everyone, I wish you the most beautiful day today! Today I want to share a card that I created.

Wish you the most beautiful day card

I took the class “Creative Watercolor Media” for my AECP program and I learnt many cool techniques. I was particularly intrigued with this class where Laura Bassen taught about creating a fun background with reinkers. I used Distress Inks reinkers since that’s what I have on hand but any watercolor will work well for this technique.

I started by stamping my floral image from the “Crown Bloom” stamp set on a watercolor cardstock and heat embossed with clear embossing powder. Then all I did was paint the colors around it and create a loose, fun watercolored background because the images acts as a resist to the colors.

Wish you the most beautiful day card

Then I trimmed the watercolor card to 4’x 5.25′ and mounted it on a A2 black card. I then stamp the sentiment “Wish you the most beautiful day” from the Beautiful Day stamp set and heat embossed it with gold embossing powder.

I also spritz some glimmer mist on the whole card to add some shimmer to the card. I finished the card by adding some clear sequins.

Wish you the most beautiful day card

I had some much fun creating this card that I used the same technique and created another card.

Wish you the most beautiful day card

I used the third layer of the “Beautiful Day” stamp set so I would have more color resist from my reinkers. Then I added some gold thread behind my sentiment for added interest and texture. Again, for this card I spritz some glimmer mist onto the card for the added shine. I finished the card with some clear sequins as well.

Wish you the most beautiful day card

I hope you will give this technique a try. Thank you for stopping by and Happy crafting!

Supplies used:

Distress Ink Reinkers: Squeezed Lemonade, Dried Marigold, Picked Raspberry

crown bloom
Crown Bloom

Beautiful Day

*I am part of Altenew’s affiliate program where I earn a small commission at no additional cost to you every time you click through and purchase product(s) linked in this post. Thank you so much for your support!*

Birthday Card

Hello everyone! Another day to share an AECP project – a birthday card that I colored. I took the class “Impressive Heat Embossing” on Altenew Academy and I was inspired to color without worrying the outlines.

I started by stamping the floral images and leaves from Altenew Engagement Wishes stamp set with Versafine Onyx black ink and heat embossed it with clear embossing powder.

I colored it with mermaid markers. I participated in the #dailymarker30day challenge this month where I try to color something everyday. I colored the images and got them ready for my card.

thumbnail

However I felt like it needed something extra. So I added some little details with my white gel pen and a white Sharpie paint pen.

happy birthday card

I created a 5×7 black card panel. I added a thin strip of gold on the side and adhered my floral arrangement on a white card base. I also added an instax gold frame and gold thread behind the image for more details and texture. I just love to add gold as an accent to a card. I stamped the sentiment “Wishing you a” from the Engagement stamp set and added the “Happy birthday” sentiment from another stamp set from Mama Elephant happy gang. I finished the card by embellishing it with some leaves and clear sequins.

happy birthday card

Here is a close up:happy birthday card

Here is another card of the other floral image that I colored. happy birthday card

Thanks for stopping by and Happy crafting!

February DIY Planner Divider

Hello everyone!

It is a new month and I created another planner divider. I have already created all the dividers with the We R Memory Keepers tab punch but I have not decorated them yet. So I am just doing them monthly, depending on what inspires me at the moment! February is the month of love! I think of love, sweet Valentine, beautiful family reunion for the lunar new year for the month of February!

February sweet rose stamp set divider

I used Altenew Sweet Rose Bouquet to create this divider. It is such a beautiful stamp set. I did use a stamp platform for the stamping so I could create many images faster. Altenew has ink colors that are available in a set that takes a lot of guess work to see which colors work best for the floral layers. After stamping the images, I just cut them out with scissors and adhered them on the divider. Then I added a “love” rose gold colored diecut shape from Dear Lizzy, Finishing off with stamping FEB on the tab with a stamp  set from #feedyourcraft. Although this stamp set has 4 layers, I only used 3 color inks, I stamped the last layer with the same darkest ink an extra time to get a darker shade. That is how you can create many layers with the inks you have.

Altenew Inks Used : Rose Quartz, Puffy Heart, Purple Wine, Mountain Mist, Volcano Lake, Lagoon.

For this project, I had a lot of tips from the class “All About Layering 3”, it is free so definitely check it out! The colors for this project was inspired by the class “In the mood for color” taught by Stephanie Klauck on Altenew Academy. Different colors represent different mood and translating that feelings into the project design. That’s why I chose “Pink”, one reason is my favourite color of all times and also February for me is a month of love and all things sweet in life!

IMG_4142-001.JPG

Here is a close up picture -I just love the shiny diecut! In the previous post showed how I decorated my January divider.

Leave a comment if you have any questions or just to say hi! Thank you for stopping by and Happy crafting!


DIY Planner Dividers

Hello everyone! Wishing you a Happy 2019! I have been in a hiatus from crafting, mostly because there is just too much going on in my life. So since it’s a new year, time for a brand new start and to continue my love for creating!

Today I want to share my DIY planner divider for January. It is so easy to make with the We R Memory Keepers Tab Punch.

DIY January planner divider

I have a Kikki K large planner (I just love the Neon Coral color!) The planner did not come with any monthly dividers so I thought to make them myself and to decorate it with my favourite floral stamps.

I am still working on my Altenew Educator Certification program, currently just starting out with Level 2 – and today’s project was based on a class that I took on Altenew Academy : Masking Unleashed. I used post-it notes for masking to create the scene. In the class, Svitlana showed the different products that can be used for masking and shared lots of tips, especially on how to create the mask and how to cut it to get better stamping. I find that whether you are a beginner to card making or a seasoned crafter, there is always something new to learn in these classes!

I used Altenew Vintage Flowers to create this divider. I was inspired to use the colors from Altenew January Inspiration Challenge.

Orange and red seems to be such happy colors – perfect for the start of the year!

DIY January planner divider

I hope you have enjoyed today’s post – may 2019 be the year to collect Happy Memories! Thanks for stopping by and Happy crafting! 

Mixed media background for scrapbook layout using a brayer

Today I want to share a scrapbook layout where I created a mixed media background using inks and a brayer.

I was inspired by the class I took on Altenew Academy – “Irresistible Inking Techniques”. It was so easy and fun and definitely you will get a different effect each time.

Best day ever scrapbook layout using altenew reflections kit

On a white cardstock, I used my Cameo to cut a tiny dots frame border just for interest. To have a brayered effect on the background, I used inks and mixed them with some water and roll my brayer onto it. I used some Mustard Seed Distress Ink and Altenew’s Coral Berry Ink. It helps to add different colors when one color is dry. I added some paint splatters for a more fun look. For embellishments, I added some diecut flourishes and flowers which I fussy cut from a patterned paper in the Altenew Reflections Kit . For my title, I cut the word “best” and “ever” from a patterned paper as well.

Here is a close up:Best day ever scrapbook layout using altenew reflections kit

Best day ever scrapbook layout using altenew reflections kit

It’s always fun to do mixed media backgrounds because the results can be quite unpredictable. Hope you will try it out too!

Thanks for stopping by and Happy crafting!

Inks and Embossed Background for Scrapbook Layout

Finally I am able to sit down and write a blog post since I was away for a trip last week. Today I have a scrapbook layout to share with you.

It’s the first time I am able to stamp and heat embossed on a scrapbook layout since I got my Tim Holtz Stamp platform. It has the open space that can fit any size paper so it’s perfect to use for stamping for scrapbooking. It just makes it easier in case I need to double stamp if I didn’t get enough ink on my stamp the first time.

The technique for the background of my layout was inspired by the class I took on Altenew Academy – “Easy Ink Blending Techniques” where Amy Lee taught on faux watercoloring. It incorporates ink blending and adding watercolor washes on top of it.

Life is good scrapbook layout using altenew painted butterflies stamp set

I stamped some butterflies from the Painted Butterflies stamp set and heat embossed in white. Then I used mango Smoothie, Coral Berry and Mountain Mist for my ink blending. I also added some matte medium through a stencil as well for some interest and texture. Then for the watercolor wash on top of the butterflies, I added some distress inks – Abandoned Coral, Cracked Pistachio and Mustard Seed.

Here is a close up:Life is good scrapbook layout using altenew painted butterflies stamp set

Life is good scrapbook layout using altenew painted butterflies stamp set

I embellished the layout with some stickers from my planner sticker sheets and from Altenew Reflections kit. It’s pretty fun creating an artsy background for this layout.

My layout was inspired by the colors and sketch challenge over at Altenew. They have a sketch challenge every month and it’s always fun to play along. Sketch-Challenge-7-draft1

Thanks for stopping by and Happy crafting!